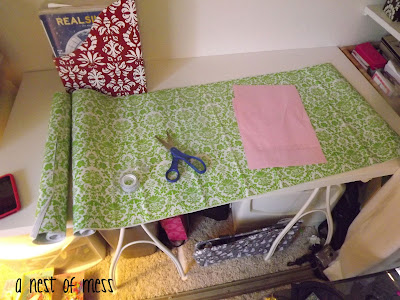
my bins on the left of the desk are actually really useful & functional, you just can't see them because of all the junk!
i used tacky glue on the paper & the piece of ribbon & let it sit for a minute to make sure it would stay.
i chose a natural colored ribbon because of the wall color in the closet. i used a pushpin to hold the ribbon in place while it was drying.
i am so happy how it's turning out!
now that my yummy green wall was complete, i turned my focus back onto the load of items that were living on the desktop. i love to purge & use things i already have, so i was so excited to get this desk in check!
i found these little metal buckets that my kids probably received as a party favor & could not have been more pleased with the colors! i sorted through all the writing instruments on my desk and sorted them into pen/pencils & markers/highlighters.
i also picked these adorable little containers in the dollar section of target, but never found a use for them... ta da! i used one to house my pushpins, one for my bucket o'pens and one for my most used desk items, ie. stapler, tape etc.
my goal is to have my desk to actually use, i know, crazy right? so even though all my little bins are super cute, i did not want them all over my desk.
i love pushpins, really, like love them. they always come in so handy & this was the perfect place to use them. the green & blue metal buckets came equipped with little handles, so i just stuck in a few pushpins, and up they went. for the 2 rectangle bins, i used binder clips to the sides of the bin, opened up the other side and up they went! i decided to keep the soft grey one on the desktop as it holds my pens/pencils & stacks of post-its.
so just my lamp & my small bin of pens/pencils & post-its! oh & my desktop would not be complete without my grammie's button box. on every desk i have owned, it has lived :) she was the craftiest person i have ever known & the little button box always makes me smile.


No comments:
Post a Comment